
Why print on blank stock
Pre-printed stock
One product per account
- Ordered in quantity
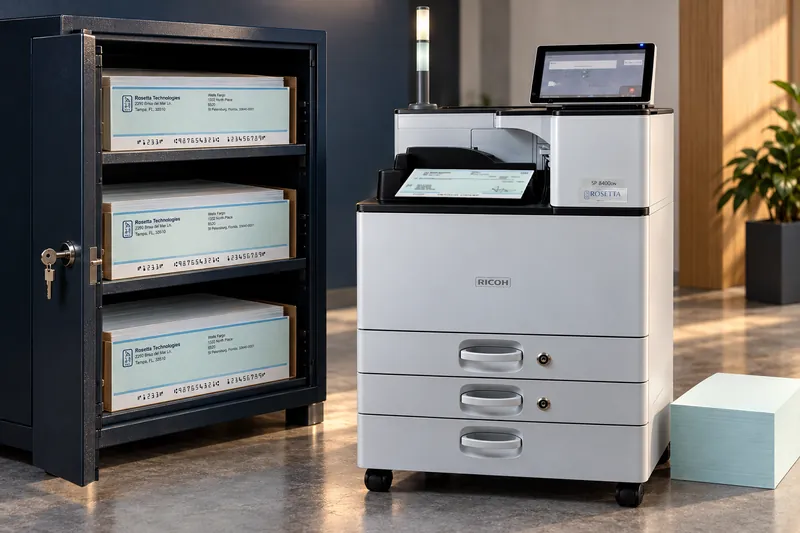
- Stored under lock and counted
- Obsolete when a bank, address, or account number changes
- Destroyed, and reordered
Blank safety stock
One product covers every account, each check printed on demand
- Change a template, not an inventory
- Nothing to secure beyond the blank stock
- Nothing to destroy when details change
- Never short of a specific account’s forms
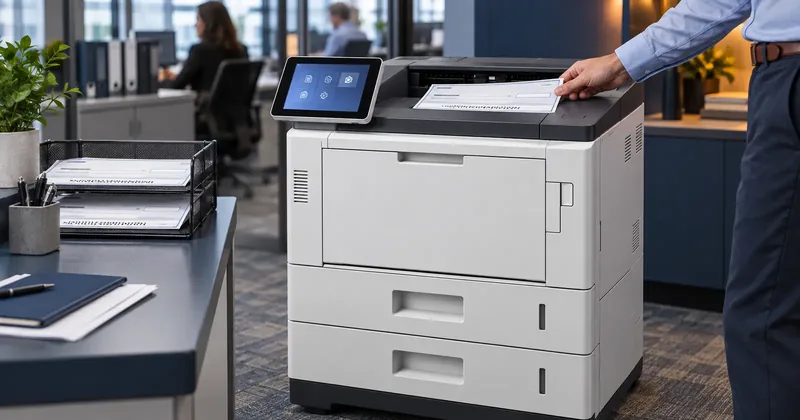
Printing on blank safety stock replaces a warehouse of pre-printed forms with one piece of paper and a machine that knows what to put on it. The process is straightforward, but every step in it has a requirement that is easy to miss.
This is the whole sequence, in the order it actually happens, with the requirement attached to each step rather than collected in an appendix nobody reads.
Step one: the paper
Check stock is governed by ANSI X9.18, which is approved by the American Bankers Association. Its requirements are specific and they are not suggestions.
| Requirement | Specification |
|---|---|
| Weight | 24 lb recommended |
| Sheffield smoothness | 120 to 150 |
| Moisture content | 4.5% |
| Packaging | Sealed, moisture-proof wrapping |
| Magnetic content | No ferromagnetic material in the paper |
The last line is the one people underestimate. Paper containing ferromagnetic material puts magnetic noise on the document, and the read head at a bank does not distinguish between noise from the paper and signal from your MICR line. It reads what is there.
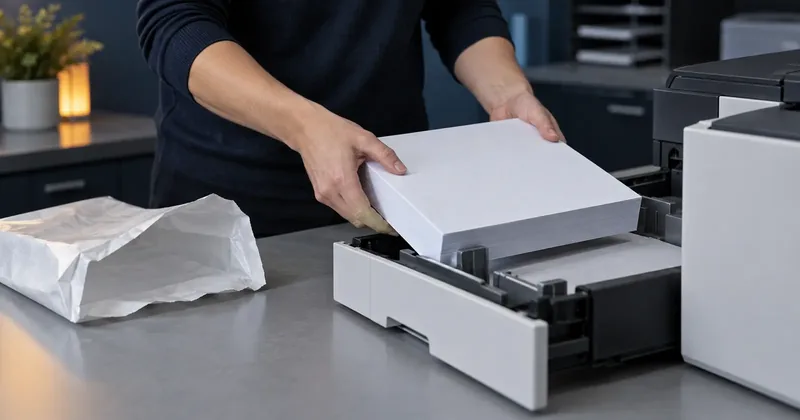
The packaging requirement matters for the same underlying reason as the moisture specification. Paper takes on moisture from the room it sits in, and moisture content affects how toner bonds to the sheet. Stock that has been sitting open in a humid storeroom is no longer the stock that was tested.
Blank safety stock also has to be treated as a controlled item once it arrives. It is not negotiable on its own, but it is one printing pass away from being negotiable, so it belongs in a locked cabinet with a count against it rather than on a shelf beside the copier paper.
Step two: the printer
Three requirements make a printer MICR capable, and all three are necessary. Missing any one of them means you have a printer that produces something that looks like a check.
- Magnetic toner. Magnetic toner contains iron oxide, which is why magnetic toner is black. Ordinary toner produces a visually identical line with no magnetic signature at all.
- Calibration verified on a MICR verifier. Signal strength is a property of the assembled machine, not of the toner alone. The engine, the fuser temperature, the transfer roller, and the toner all contribute, so the assembled machine is what gets measured.
- Certified E-13B or CMC-7 fonts tuned to that engine and toner. E-13B is the North American standard, with fourteen characters: ten digits and four symbols. The four symbols are transit, amount, on-us, and dash. CMC-7 is used across much of Europe and South America.
The third point is where a lot of unhappy projects start. A font file named E-13B is not a certified font tuned to a specific engine and toner. The characters have deliberately uneven ink mass distribution, which is what produces a distinct waveform per character at the read head, and reproducing that reliably on a given machine is the entire job.
Step three: the layout
The MICR line carries four fields: auxiliary on-us, transit and routing number, on-us, and amount. You print three of them. The amount field is blank when a check is printed and is encoded later by the bank of first deposit, so it must arrive clear.
The exact content and position of your fields is a bank specific matter. Get the specification from your bank in writing, build the layout to it, and send a printed sample back for approval before the first production run. Do not derive the routing number or the account layout from an existing pre-printed check if you can get it from the bank instead. The routing number carries a check digit, and confirming it at the source costs one phone call.
Step four: the run and the verification
The run itself is the least eventful part once the first three steps are right. What matters is what happens around it.
- Load stock from sealed packaging and keep opened stock away from humidity and heat.
- Print a sample before the batch and confirm registration of the MICR line against the specification.
- Verify output on a MICR verifier rather than by eye, because the eye cannot see signal strength.
- Keep the batch under the same physical control you gave pre-printed stock. Blank stock is not a check, but a printed one is.
- Record the page count against the printer, so maintenance stays tied to pages rather than to the calendar.
An item a reader/sorter cannot read leaves straight-through processing and is handled by a person at the bank, which the bank charges for at its own fee schedule. Verification before the checks leave is the last cheap point in the process. Everything after it is somebody else's billing cycle.
What changes once you are running
The move to blank stock changes the shape of the work rather than the amount of it. The ordering, storage, and destruction of obsolete pre-printed forms disappear. In their place comes a small amount of ongoing discipline: page counts tracked against maintenance, stock kept sealed and counted, and verification treated as a step in every run rather than a thing done when somebody is worried.
That trade is usually worth making, and it becomes more clearly worth making with every additional account or form you carry. One stock serves all of them, and a new account becomes a layout approval rather than a print order and a warehouse problem.
Field content and placement vary by bank. Take your MICR line specification from your own institution and have a printed sample approved before production.