

A payroll day runs best as a fixed sequence: confirm supplies, check the file, print a test page, run, inspect, count, then secure and reconcile. Each step catches a problem the next one cannot, so the order matters as much as the list.
Payroll is the check run with the least room for error. The date is published, everyone waiting on it knows when they expect to be paid, and a rejected item is a person who was not. The printing itself is rarely the hard part. Trouble usually starts in the steps around it: a cartridge that runs out partway through, a file exported twice, a stack nobody counted before it went into envelopes.
The checklist below assumes an in-house setup: a MICR printer, check printing software that composes the whole item on blank safety stock, and one or two people who own the run. Change the names to fit your team, but keep the sequence.
The afternoon before: supplies and capacity
Most pay day problems can be solved the day before, while nothing is waiting on them.
- Toner: compare what is left with the size of the run. A cartridge for our P 501M desktop MICR printer is rated at 15,000 impressions at 3.6% coverage, so the question is not whether there is toner but whether there is enough to finish.
- Stock: count sealed reams of blank check stock against the run, plus a margin for the test page and any spoils. Leave the wrapping on until the run.
- Maintenance: check where the printer sits against its maintenance kit yield. A kit that is nearly due is better replaced before the run than during it.
- Trays: know how many sheets the printer holds. The P 501M takes 600 sheets as standard and up to 2,100 with optional trays, which decides how often someone reloads.
- People: confirm who prints, who inspects and who signs off, and that the second person will actually be there.
Pay day morning: the file, then one test page
Load the payroll file and check it against the payroll register before anything prints: the number of payments, the total amount, and the first and last check numbers the run will use. A duplicated or truncated export is far cheaper to catch on a screen than in a stack of printed checks. If you print with CheckStream®, user-level security is included in the LS, Office and Pro editions, so the run can be limited to the people assigned to it.
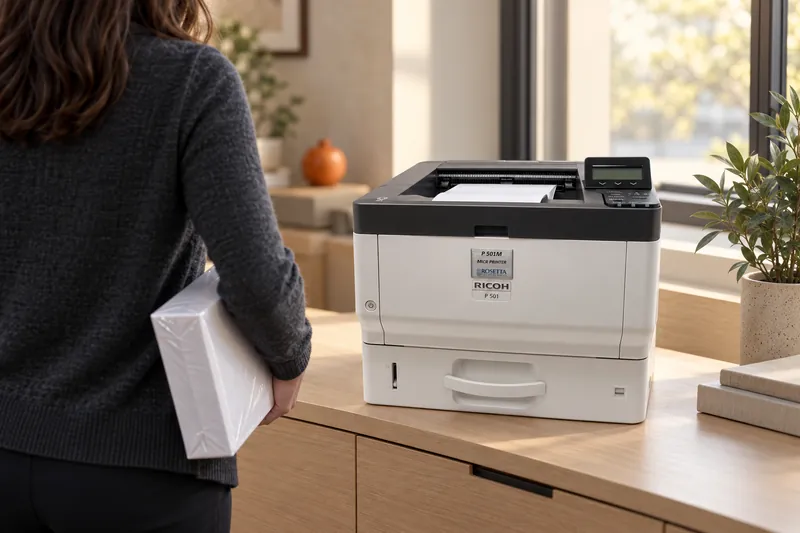
Then print one test page on the real stock, not on plain paper, because the stock is part of what you are testing. Look at it in good light. The MICR line should sit in the reserved band along the bottom edge with nothing else printed inside that band. The characters should be solid and even. The account details and the check number should match what the software says it is about to print. If the test page is wrong, every page after it will be wrong in the same way.
The run and the inspection
Start the run and stay with it. A check run is not a job to send and walk away from: the printer may stop for paper, a tray may need reloading, and a jam in the middle of a numbered run needs someone who knows which number comes next.
Any sheet spoiled during the run, by a jam, a smear or a misfeed, still carries a valid check number. Set it aside, mark it void, and write down its number before anyone prints a replacement. That one habit is what keeps the final count honest.
When the run finishes, inspect before you count. Look at the first sheet, one from the middle and the last. A problem that develops during a run, such as a fading line or a shift in position, shows up as a difference between those three. The five-minute inspection every check run deserves sets out what to look for on each.
Count, secure, seal and reconcile
- Count the output. Compare the number of printed checks with the number of payments in the file. Then account for every check number in the range as issued, spoiled or unused. A gap or a duplicate in the sequence is the usual sign that something went wrong during a reload or a jam.
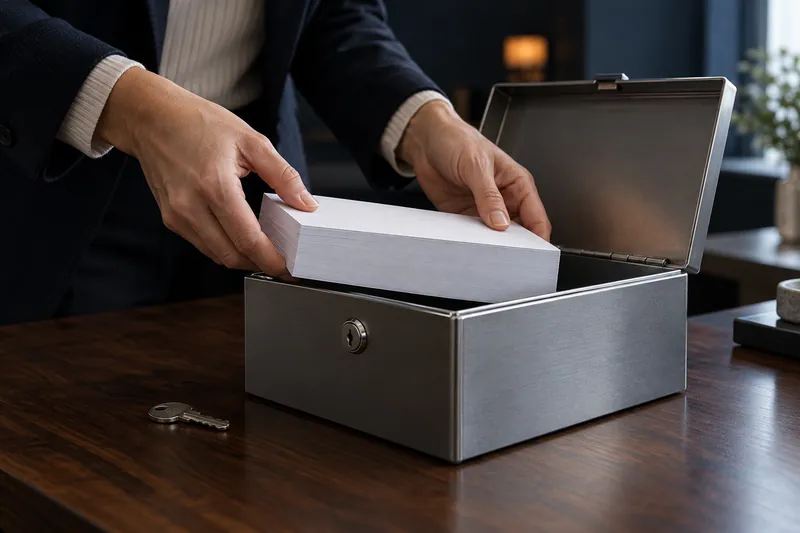
- Secure the run. Blank safety stock carries no account number and no bank, but a printed check carries both, plus a payee and an amount. Keep printed checks in a locked location until they are inserted, and lock the unused stock away as well.
- Insert and seal. Fold and insert without creasing across the MICR line. A fold, a tear or a staple hole across the line is one of the physical causes of a reject.
- Reconcile. Match the count, the total and the number range against the payroll register. If your bank offers positive pay, the issue file should describe the checks that actually left the building, so settle spoils and voids before it is sent.
- Record what happened. Who printed, who inspected, the number range, the spoils and any supply changed during the run. End-of-day controls for printed checks covers these records in more depth.
Why the order matters
Each step protects the one after it. Supplies checked the day before keep the run from stopping halfway. The file check stops a wrong run before it uses any stock. The test page catches a layout or quality problem at one sheet instead of hundreds. Inspection comes before the count so that bad sheets are pulled and voided before the numbers are reconciled, not after.
The last check happens at the bank, out of your sight. A reader/sorter that cannot read the MICR line sends the item out of straight-through processing, and on payroll that is a person who was not paid on the day they expected. Our ProMark™ MICR toner is independently tested at a reject rate of 0.1% or lower on an IBM 3890 high-speed reader/sorter, against an industry-typical 2% to 4%. As an example, on a run of 1,000 checks that is the difference between one item or fewer and 20 to 40 of them. Our payroll and claims page works through the same arithmetic at larger volumes.
Yields are stated at a given coverage, and a check with a dense stub or a large logo can use more toner per page than that figure assumes. Leave a margin rather than planning to the last impression.