
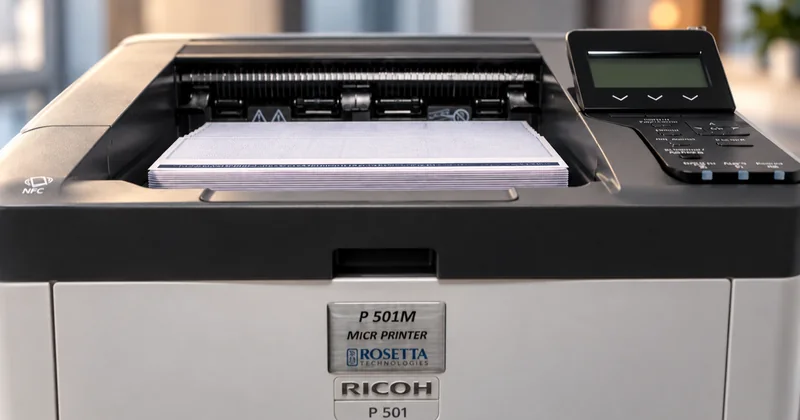
What you need before you start
Four things, and all four have to be right. Getting three of them right produces items that look correct and get rejected.
- A MICR printer. Magnetic toner, calibration verified on a MICR verifier, and certified E-13B or CMC-7 fonts tuned to that engine and toner. A standard office printer with MICR toner in it satisfies one of the three.
- Check printing software. Something that composes the whole item: payee details, amount, background, logo, security features, and the MICR line, in one pass.
- Blank check safety stock. Paper meeting ANSI X9.18, which sets weight, surface smoothness, moisture content, sealed wrapping, and the absence of ferromagnetic material.
- Your bank account details in the right format. Routing number, account number, and the layout the issuing bank uses for its on-us field, which varies by bank.
Step one: get the stock right
Check stock is the variable most often skipped and the one that most often explains a reject rate nobody can account for. Paper outside the specification produces rejects on a printer in perfect calibration.
| Requirement | Specification | Why it matters |
|---|---|---|
| Weight | 24 lb, 90 g/m², recommended | Feed reliability and how the sheet behaves through the fuser |
| Smoothness | Sheffield 120 to 150 | How evenly toner lands, which is signal strength |
| Moisture content | 4.5% | Paper that has absorbed moisture fuses differently |
| Wrapping | Sealed, moisture-proof | Protects the moisture content in storage |
| Ferromagnetic material | None in the paper | The paper must not add signal of its own |
Store stock sealed until it is used, and open a ream at a time. A box left open in a humid room for a month is no longer within specification, and nothing about it looks different.
Step two: lay out the check
Layout is where the bank-specific part lives. The routing number is standard and the amount field is standard, but the internal structure of the on-us field is set by the issuing bank.
The MICR line
- The line sits in a reserved band along the bottom edge. Nothing else may print inside it.
- Positions are numbered from right to left, starting at position 1 at the far right of the document.
- The routing number is nine digits bracketed by Transit symbols.
- The on-us field carries the account number, and often the check serial number, in the layout your bank specifies.
- The amount field is left blank. The bank encodes the amount when the item reaches it.
- The auxiliary on-us field, at the far left, usually carries the check serial number on business-size checks.
Everything above the line
The payee block, the amount in figures and words, the date, the signature area, the bank block, and the security features. All of it prints in the same pass as the MICR line, which is what makes blank stock work at all.
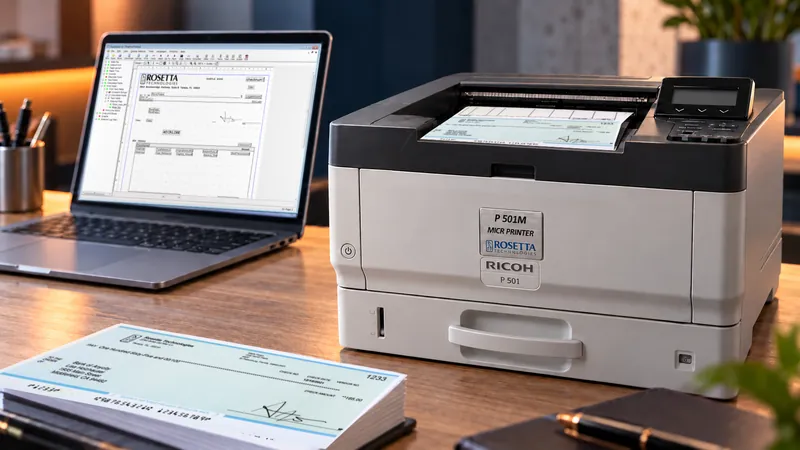
CheckStream: what gets composed, in one pass
- Accounting dataPayee, amount, account
- Check templateBackground, logo, security
- MICR fontE-13B or CMC-7, with the MICR line printed in the same pass
Printed onto blank safety stock. Nothing is pre-printed. Background, logo, security features and MICR line all print at production time.
Step three: decide the security features
Because the item is composed at print time, security features are a configuration choice rather than a stock purchase. The features commonly printed onto a check include:
- VOID pantograph, which reveals the word VOID when the item is photocopied
- Microprint, text too small to reproduce cleanly on a copier
- Watermarks imprinted into the printed background
- Eurion dot security patterns
Signature encryption and positive pay file generation are usually separate options rather than printed features. Positive pay in particular is worth asking about early, because it changes what the software has to produce alongside the check.
Step four: test before you run
Do not find out whether the layout is right by sending five thousand items to the bank. Test in this order.
- Print a proof on the real stock. Not on plain paper. The stock is part of what you are testing, and the difference will not be visible.
- Check the reserved band. Confirm nothing but the MICR line prints inside it, including background artwork and any printer-added marks.
- Confirm the field layout with the bank. Send a sample to the bank and ask them to confirm the on-us layout. This is a routine request and it is the step that prevents the expensive version of this problem.
- Run a small live batch. A few dozen items, and watch what comes back. A reject rate reveals itself at small volume if you are looking for it.
- Then scale. And keep watching the rate. A rising reject rate is the earliest signal that something in the system has drifted.
Step five: keep it working
MICR signal strength drifts as parts wear. The fuser bonds toner to the sheet, and how well it does that affects the signal a read head sees. The photoconductor drum and transfer roller affect how evenly toner lands in the first place.
A maintenance kit replaces the fuser, the drum, the transfer roller, the pickup rollers, and the separation pads as a set, on a page-yield interval rather than a time interval. Replacing them before wear shows up in a reject report is the whole idea.
Three habits keep the rate flat: use approved supplies, keep stock sealed until it is used, and treat a rising reject rate as a maintenance signal rather than a bank problem.
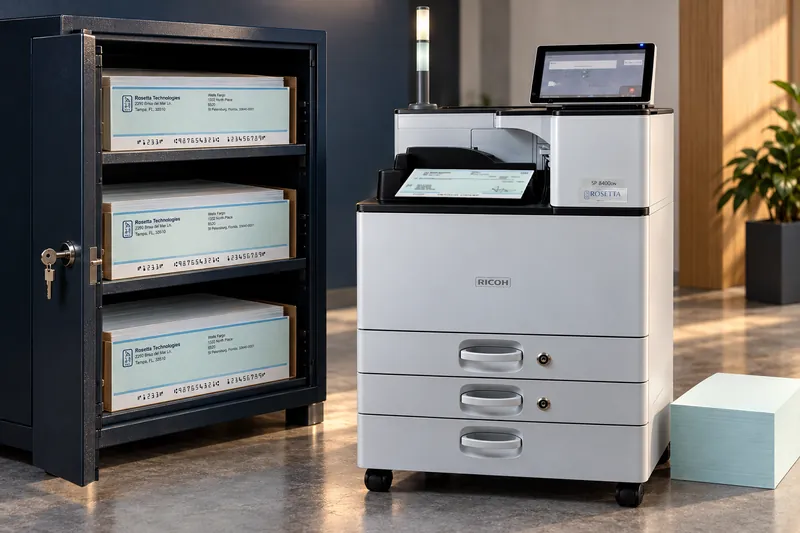
Why print on blank stock
Pre-printed stock
One product per account
- Ordered in quantity
- Stored under lock and counted
- Obsolete when a bank, address, or account number changes
- Destroyed, and reordered
Blank safety stock
One product covers every account, each check printed on demand
- Change a template, not an inventory
- Nothing to secure beyond the blank stock
- Nothing to destroy when details change
- Never short of a specific account’s forms

Common questions
Can I print checks on plain paper?
No. Checks print on blank check safety stock meeting ANSI X9.18, which specifies weight, surface smoothness, moisture content, sealed wrapping, and the absence of ferromagnetic material. Plain paper fails on most of those and produces rejects even on a correctly calibrated printer.
Do I need to print the amount in the MICR line?
No. On a normal business check the amount field is left blank at print time. The first bank to handle the item encodes the amount in a step called amount encoding. Leaving the correct space for it is part of laying the line out properly.
How do I know the layout is right for my bank?
Send the bank a printed sample on the real stock and ask them to confirm the on-us field layout. The internal structure of that field is set by the issuing bank rather than by the standard, so two banks will lay out the same information differently and both are correct.
What software do I need?
Check printing software that composes the entire item onto blank stock in one pass, including the MICR line. CheckStream is our product, in six editions that differ on two rows: maximum users and printer support.
How often do I replace the maintenance kit?
On a page-yield interval rather than a time interval. Each printer has its own per-kit page yield, and kit contents vary per model. Replacing on yield is what keeps wear from showing up as a reject rate.
What do I do if the reject rate starts climbing?
Treat it as a maintenance signal first. Check where the printer is against its maintenance kit yield, confirm the stock is within specification and has been stored sealed, and confirm no supplies have been substituted. A drifting printer produces items that mostly clear, which is why the rate rises gradually rather than failing outright.
Talk it through with someone who builds these
We supply the printer, the software, and the toner, which is what makes the MICR Performance Guarantee possible at all. If any part of this applies to what you are trying to do, the fastest route is a conversation.